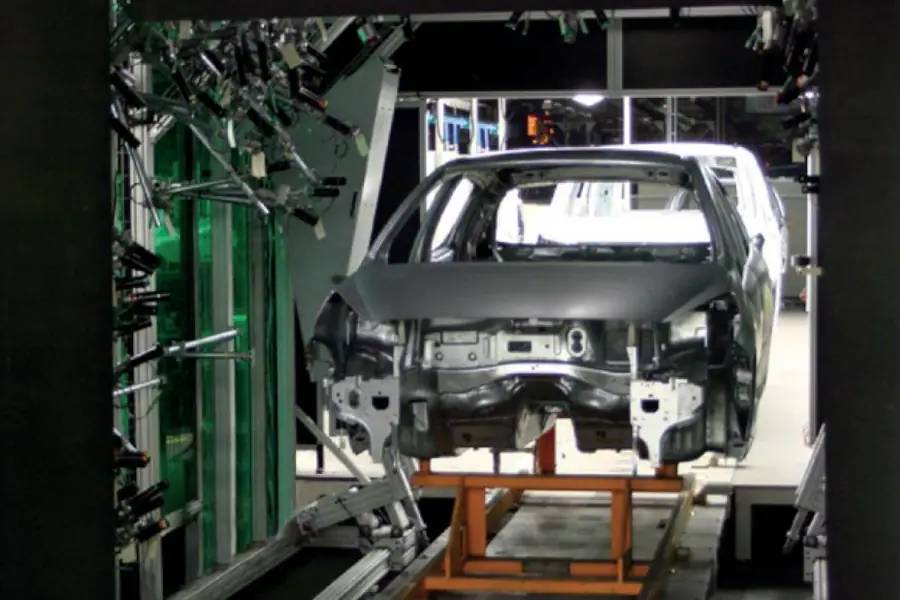
Fixed gap and flush stereovision measurement station that can be integrated into a production line
Gap and flush inspection for sub-assemblies and full-body assemblies for automotive manufacturing as well as aerospace, railway, and naval manufacturing
Working principle
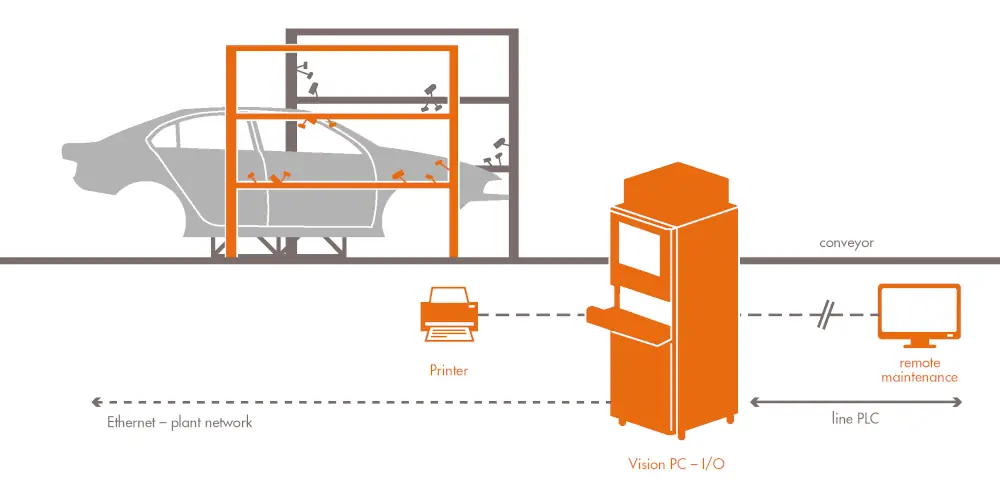
The cameras and lighting are installed in a tunnel mounted over the production line. Wide angle stereovision technology measures the whole vehicle using just 6 pairs of cameras. As the vehicle passes along the line, the lights are switched on in a predefined sequence programmed to suit the vehicle being inspected. All measurements are saved by the integrated SPC software and the overall result is transmitted to the manufacturing process controller. A summary of the results is displayed showing the location and type of any faults by means of a colour code. The non-compliant areas of the vehicle requiring rework can then be identified precisely. The manufacturing process is tracked in real time, avoiding any risk of delay.
Related products
-
Remote Assistance
Secured, On-site expert support for real time problem solving (more…)
-
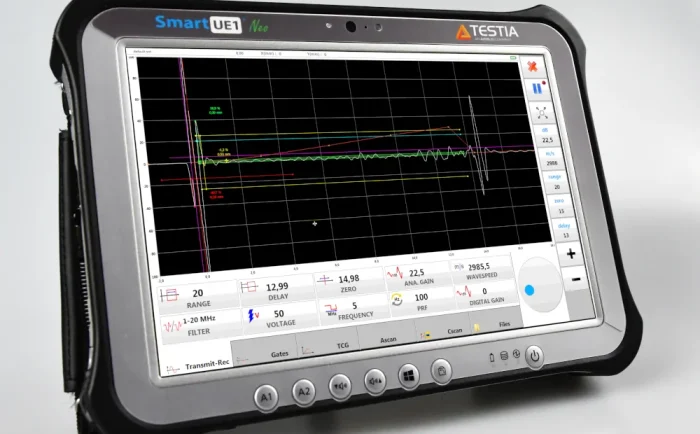
Smart UE1
Inspection’s Swiss Army knife: multi-methods aerospace-dedicated tool boosting efficiency in all your daily operations
-
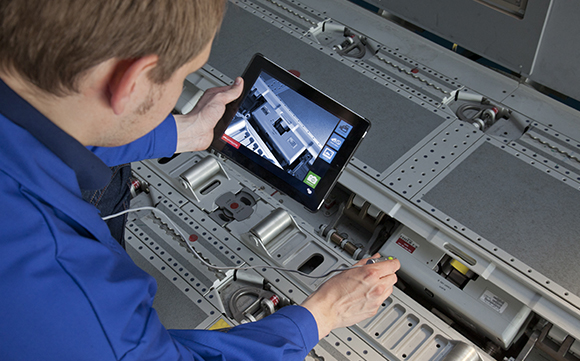
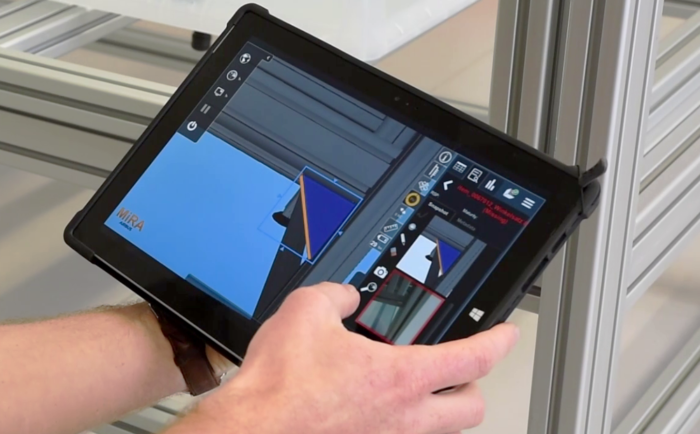
Smart Mixed Reality
Push your efficiency by enhanced reality
Smart Mixed Reality opens a new stage of technical developments into the manufacturing, inspection and maintenance performance. (more…)
-
Penetrant Testing Systems
Performance and flexibility with Testia’s Penetrant Inspection (PT) systems for production parts and MRO
(more…) -
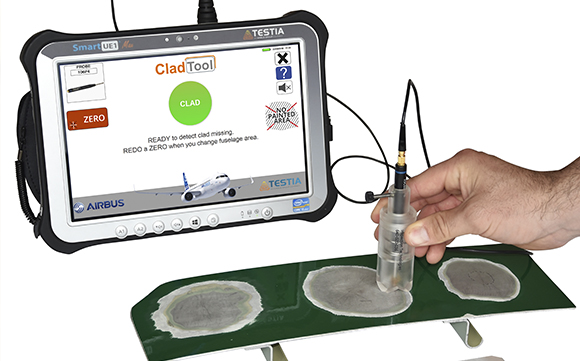
Clad Tool
Fast and cost-effective go / no-go clad diagnosis for any technician available on-site

